Methods of Inspection
Complex systems that involve pipelines, piping, casting, pressure vessels, machined parts and other industrial structures bear extreme loads and may become fatigued over the course of a lifetime of service. Reliable testing of these systems is essential. Non-destructive evaluation (NDE), or Non-destructive testing (NDT) is a highly accurate method of inspecting components that will cause no changes or damage to equipment. Often used to locate instabilities, validate material integrity, pinpoint performance outside of tolerances, detect inadequate control systems and locate failed components, NDE can prevent expensive system problems before they happen.
Trenergy NDE uses conventional non-destructive testing to establish or evaluate the condition of equipment which often involves either electromagnetic waves or sound. If you need timely turnaround and on-stream inspection, TRENERGY is ready to offer a wide array of conventional NDT applications including:
Radiographic Testing (RT)
Industrial Radiography is a method of non-destructive evaluation that uses gamma rays or x-rays to examine welds, components and other structures for deficiencies that could be detrimental to their intended use. The examination results are displayed on a radiographic film revealing the size, shape, and location of defects. In addition, any degradation, and changes in density within materials, are shown as a permanent recording so the nature and severity of the defect can be interpreted.
Radiographic examinations can be performed in house, onsite or in the field, on simple components, complex structures or pieces of equipment, to detect surface or internal discontinuities.
Scope of NDE Activities
- 2 Radiographic Vaults
- 1 -20’x 48’x 16H served by 20-ton cranes
- 1 – 28′ x 54′ x 24H served by 75-ton cranes
- lridium 192
- Co60
- Material range 1/16″ – 10″ steel or equivalent



Ultrasonic Testing (UT)
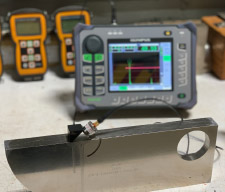
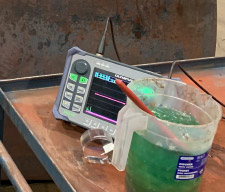
Ultrasonic Inspection is a non-destructive testing method that involves introducing high-frequency sound waves into materials and interpreting the reflected signals. Ultrasonic inspection may be used for detecting and characterizing the presence, type, and location of surface and subsurface flaws in various materials, and to analyze bond characteristics and the physical properties such as thickness of the material.
Industrial Applications:
- Weld Inspection
- Thickness Measurement
- Corrosion Pit Mapping
- Crack Sizing
- Condition Monitoring
Magnetic Particle Testing (MT)
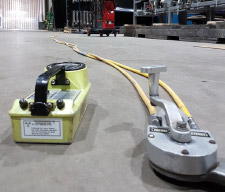
Magnetic Particle Inspection is a non-destructive testing method used to locate surface and slightly subsurface discontinuities in ferromagnetic materials. When the material or part being tested is magnetized, discontinuities that lie in a generally transverse direction to the magnetic field cause a subsequent flux leakage field to form above and at the surface of the part.
Magnetic particles can either be applied over a surface as dry particles, or in a liquid carrier like water or oil. The presence of the discontinuity can then be detected by particles gathering and be held by the leakage field, forming an outline of the discontinuity, and indicating its extent, size, shape and location.




Liquid Penetrant Inspection (PT)
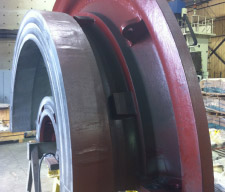
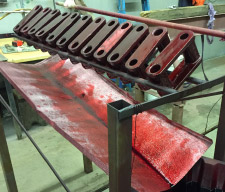
Liquid Penetrant Inspection is a non-destructive method for revealing discontinuities open to the surfaces for nonporous materials. This inspection method can indicate a wide spectrum of flaw sizes, regardless of the configuration of the workpiece or flaw orientations. Because liquid penetrants can seep into various types of minute surface openings by capillary action, they can be used to detect porosity, surface cracks, laminations, laps and other discontinuities in both ferrous and nonferrous metals, ceramics and specific plastics.
Positive Material
Identification (PMI)
Our positive material identification uses a handheld x-ray fluorescence instrument (XRF) to identify and measure the composition and concentration of elements in various materials by exposing a sample of the test piece to a beam of x-rays.
Energy levels are unique for each chemical element, so an analysis of these energies will indicate which elements are present and in what concentrations. Knowing this may help to identify the grade of metal and alloy composition, and ensure the correct materials are being used to meet application specification.



Visual Testing (VT)
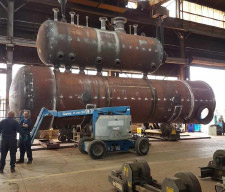
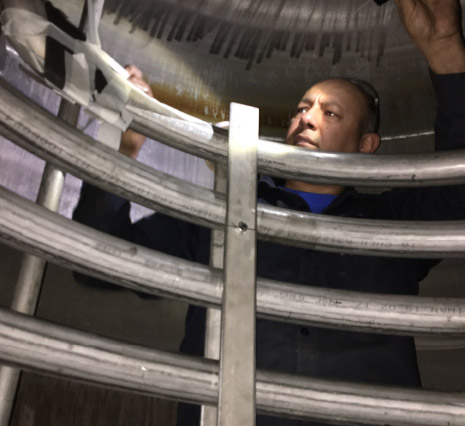
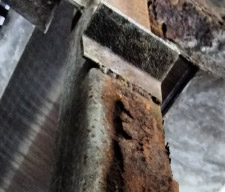
Visual inspection is the detection of surface imperfections using the naked eye of a trained technician and is a useful supplement to many other non-destructive techniques used to detect surface indications. A wide variety of equipment can be used to augment the visual inspection such as precise measuring devices, magnifying glasses, lighting and borescopes.
Industrial Applications:
- Weld Inspection
- Dimensional Conformity
YOUR REPORTS | PRIVATE AND SECURE
NDE Customer Portal
All Trenergy NDE customers are given secure access to view and download their reports from our website – just one more way Trenergy provides convenience, timely results and value.


